
Instructions
GP11AL Impact Recorder
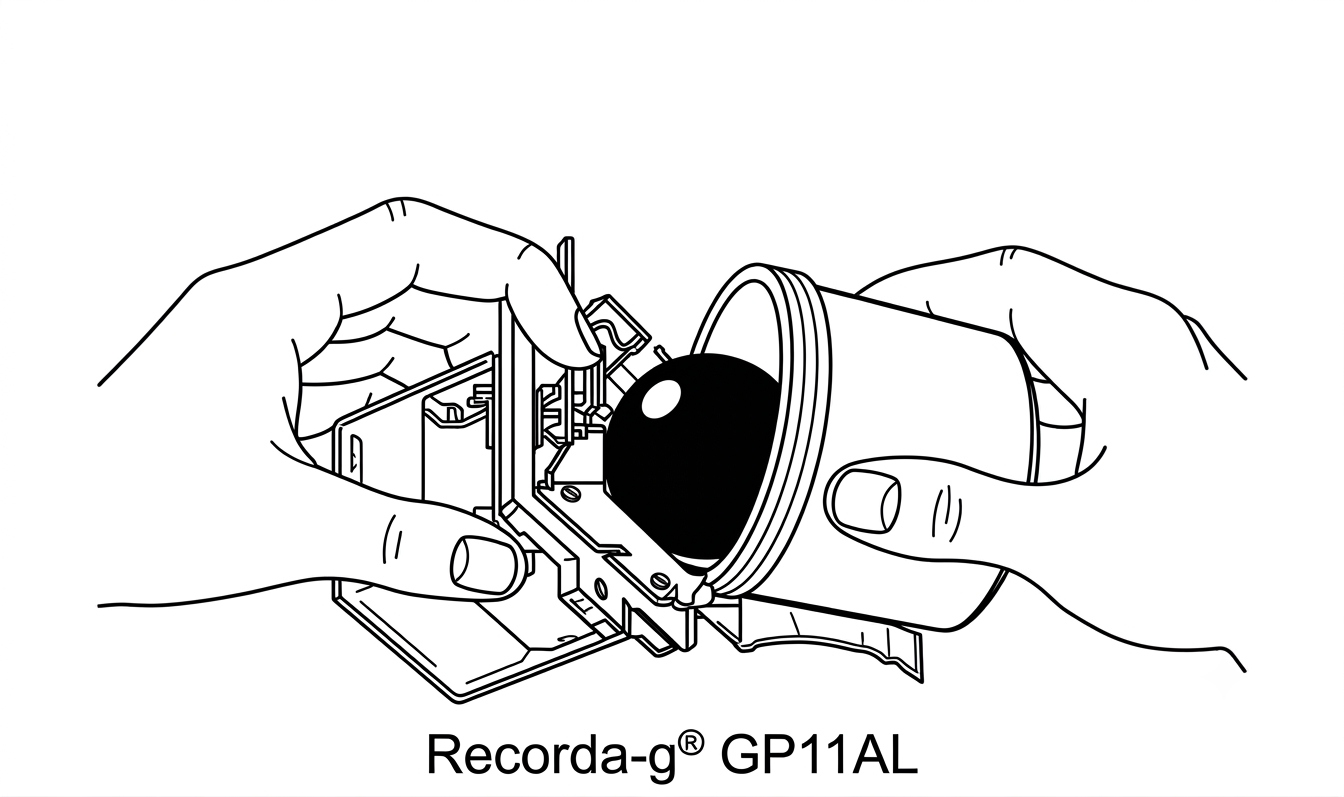
Because the sphere is designed to provide positive contact, it is not possible to load the RECORDA-g® unit without making light ink marks on the six interior panel surfaces of the liner. However, such marks will be easily distinguished both in size and shape from those produced by a genuine impact.
Remove the paper backing from the "cross" shaped Mylar liner to expose the adhesive coating. With the adhesive surface to the inside, fold the liner at all five creased lines to transform the cross shape into a cube shape. Load as shown at the left.
Gently slide the folded liner into the plastic cube, making sure that the adhesive side of the liner is towards the CAVITY OF THE CUBE. The ball is then gently rolled from the inking jar into the lined cavity of the cube. Snap the lid into place on the cube.
The unit is now loaded and should be handled very gently to avoid accidental recordings. The GP11AL should be mounted very firmly to the object that you wish to monitor.
The GP11AL is unloaded by carefully prying off the lid, gently rolling the ball back into the inker jar, and slowly pulling out the liner. Cover the ink impressions on the liner with transparent tape to protect the recording in order to handle, mail, file, or measure the imprints against the calibrated circles on the transparent template. In some cases, the impressions can be monitored from the outside of the translucent cube.